The Ultimate Guide to Growing Weed at Home: From Seed to Harvest
Growing your own cannabis—whether you call it weed, marijuana, ganja, or pot—is a fulfilling endeavor that allows you to control the quality, potency, and flavor of your buds. This comprehensive guide on how to grow weed provides a step-by-step approach to cultivating cannabis at home, tailored for beginners and seasoned growers alike. Let’s dive into the process of growing a weed plant from seed to harvest.
Step 1: Choosing the Right Seeds
The foundation of a successful cannabis grow lies in selecting the right seeds. Cannabis comes in three main species, each with unique traits:
- Sativa: Tall, energizing, and ideal for daytime use, but requires more space and longer flowering times.
- Indica: Shorter, bushier plants with relaxing, sedative effects, suitable for smaller spaces.
- Ruderalis: Hardy, autoflowering varieties that flower based on age rather than light cycles, making them beginner-friendly.
Most modern strains are hybrids, blending these traits. When choosing seeds for growing marijuana from seed, consider:
- Space: Autoflowering strains are ideal for small indoor setups like grow tents or cupboards.
- Climate: Indoor growers have full environmental control, while outdoor growers should select strains suited to their local weather.
- Preferences: Decide whether you want an uplifting Sativa, a calming Indica, or a balanced hybrid.
Purchase seeds from trusted sources like Royal Queen Seeds or GrowWeedeasy.com to ensure quality. Beginners might opt for autoflowering strains like Critical, which can yield up to 600g/m² indoors and are easy to manage.
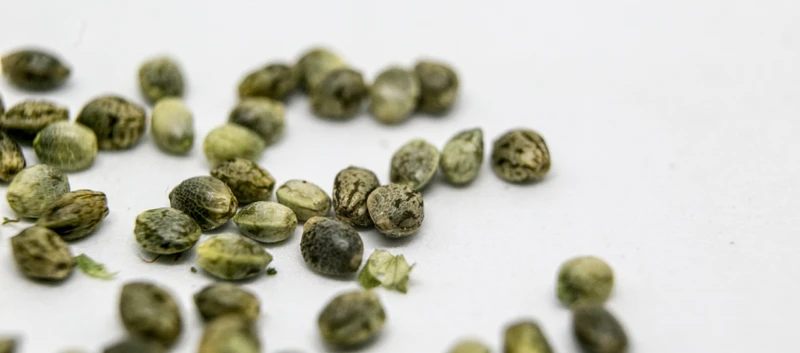
Step 2: Germination
Germination is the process of coaxing your seeds to sprout, marking the start of how to grow a weed plant. The paper towel method is simple and effective:
- Place seeds between two damp (not soaking) paper towels.
- Put the towels in a plate or ziplock bag and store in a warm, dark place (70-85°F or 20-30°C).
- Check daily; sprouts should appear within 2-7 days.
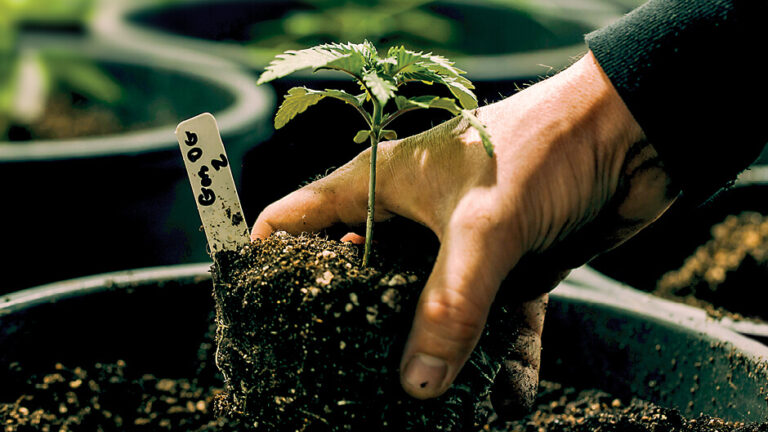
Alternatively, you can germinate directly in soil or use mediums like Rapid Rooters or rock wool. Once the taproot appears, carefully transfer seedlings to your chosen growing medium, such as soil (pH 6.0-7.0) or a hydroponic system (pH 5.5-6.5).
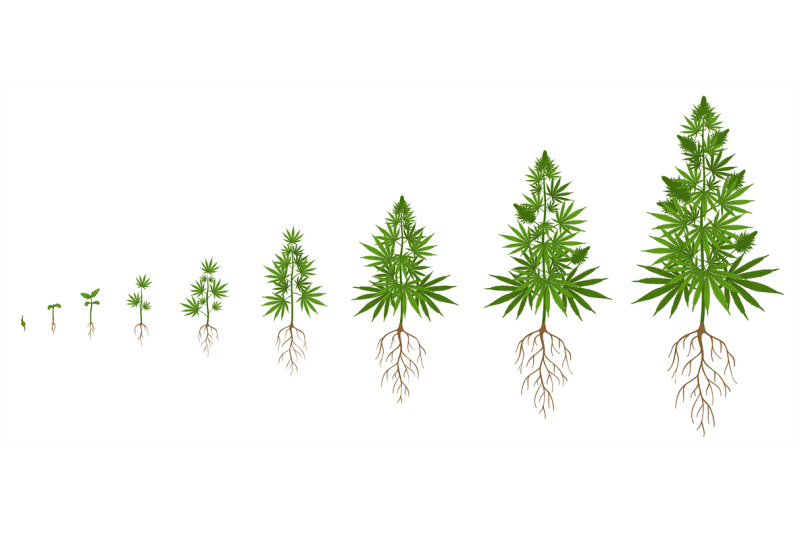
Step 3: Vegetative Stage
The vegetative stage is when your plants focus on growing leaves, stems, and roots. This phase typically lasts 4-8 weeks, depending on the strain and your goals. Key requirements include:
- Light: Provide 18-24 hours of light daily for indoor grows (18/6 or 24/0 schedules). Outdoors, plants follow natural daylight, thriving in spring and summer.
- Temperature: Maintain 70-85°F (20-30°C) for optimal growth.
- Watering: Water when the top inch of soil is dry, ensuring 20-30% runoff to prevent nutrient buildup.
- Nutrients: Use a balanced nutrient solution at half strength, such as compost tea or commercial blends designed for cannabis.
- Training: Techniques like low-stress training (LST), topping, or scrogging can increase yields by exposing more bud sites to light.
This stage sets the foundation for healthy plants, so ensure consistent care. For outdoor grows, plants can reach 3-4 meters if not topped, while indoor setups benefit from controlled environments.
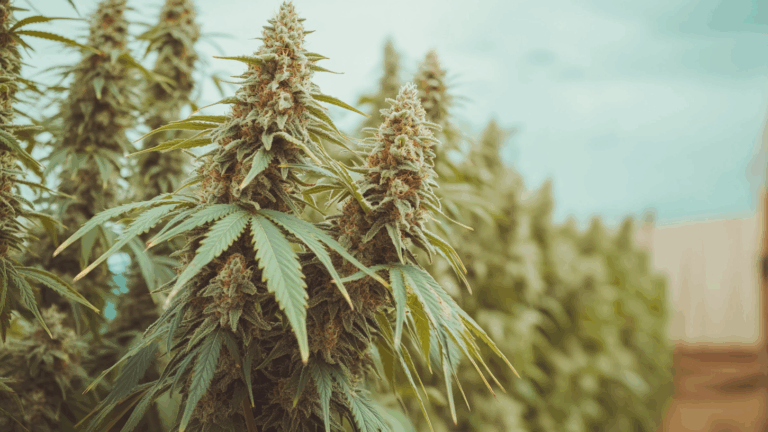
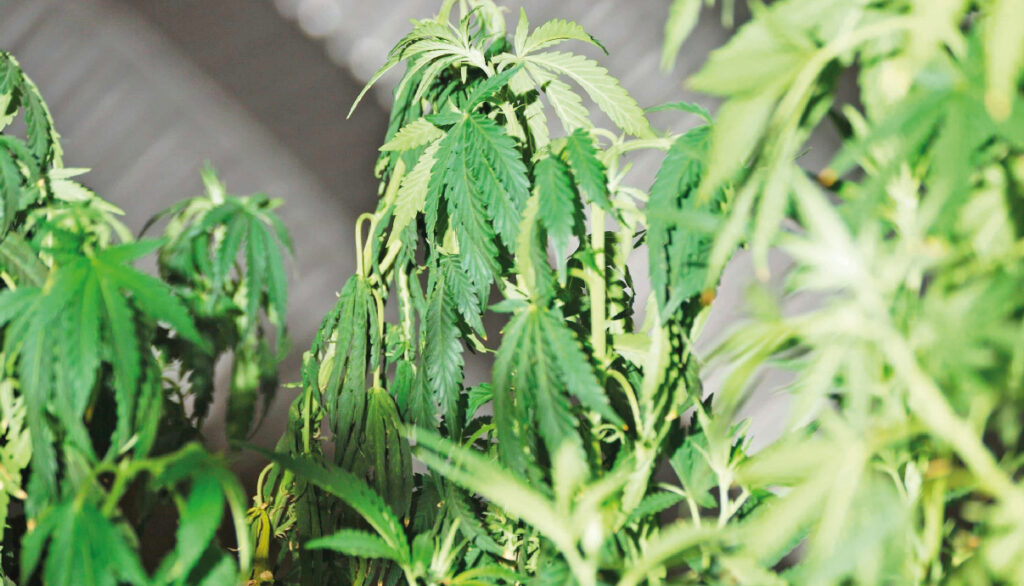
Step 4: Flowering Stage
The flowering stage is when your plants produce the buds you’re after. For indoor grows, switch to a 12/12 light cycle (12 hours on, 12 hours off) to trigger flowering. Outdoors, flowering begins naturally in fall as daylight decreases. Key considerations include:
- Gender Identification: Only female plants produce buds. Check for preflowers and remove males to prevent pollination, which reduces bud quality.
- Nutrients: Switch to bloom-specific nutrients to support bud development, avoiding high nitrogen levels.
- Environment: Keep temperatures at 65-80°F (18-26°C) and lower humidity to 30-40% to prevent mold.
- Duration: Flowering takes 8-12 weeks for photoperiod strains and 2-3 months for autoflowering varieties.
Monitor trichomes (resin glands) with a magnifying glass to gauge readiness. Harvest when most trichomes are cloudy for maximum THC or slightly amber for a more relaxing effect.
Step 5: Harvesting and Curing
Harvesting is the culmination of your efforts. Timing is critical for potency and flavor:
- Pistils: Harvest when 50-75% of pistils (hairs) darken to yellow, red, brown, or purple.
- Trichomes: Use a magnifying glass to check trichomes. Harvest when most are cloudy for high THC or when 10-15% are amber for a sedative effect.
After harvesting:
- Trimming: Trim leaves from buds, unless in a dry climate where leaving some leaves can slow drying.
- Drying: Hang buds upside down in a cool, dark, ventilated space with 60% humidity for 4-10 days.
- Curing: Place dried buds in airtight mason jars, maintaining 60% humidity. “Burp” jars (open briefly) 1-3 times daily for the first two weeks, then weekly. Cure for 2-4 weeks minimum, up to 6 months for enhanced flavor and potency. Use a hygrometer to monitor humidity.
Tips for Success
To ensure a successful grow, follow these best practices:
- pH Management: Maintain soil pH at 6.0-7.0 or hydroponic pH at 5.5-6.5 to optimize nutrient uptake. Check pH regularly with a meter.
- Lighting: Use high-pressure sodium (HPS) lights for flowering or LED panels for energy efficiency.
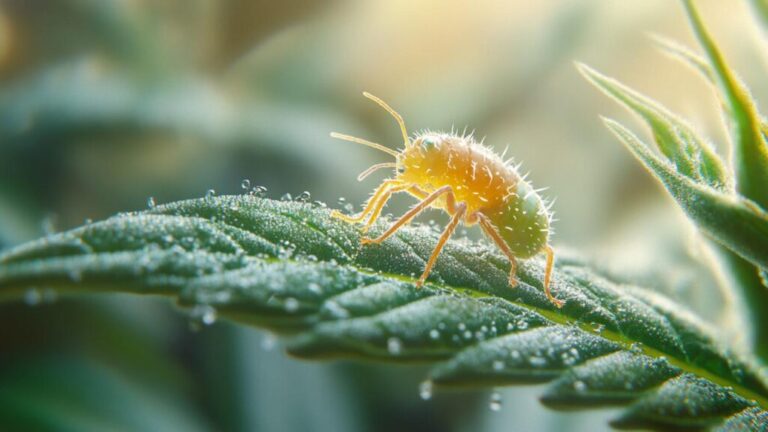
- Pest Control: Inspect plants regularly for pests like spider mites or aphids. Use organic solutions like neem oil if needed.
- Humidity: Keep humidity at 40-60% during vegetative growth, reducing to 30-40% in late flowering to prevent mold.
- Air Circulation: Use fans to ensure fresh, moving air, which strengthens plants and reduces mold risk.
Common Mistakes to Avoid
Avoid these pitfalls to maximize your success:
- Overwatering/Underwatering: Water only when the top inch of soil is dry, ensuring proper drainage.
- Incorrect Light Schedules: Stick to 18-24 hours of light in the vegetative stage and 12/12 in flowering.
- Nutrient Imbalance: Use stage-specific nutrients and avoid overfeeding, which can cause nutrient burn.
- Ignoring Environment: Temperature or humidity fluctuations can stress plants, leading to poor yields or mold.
- Neglecting Legalities: Always check local regulations, as growing cannabis may be restricted or illegal in some areas.
Growing Mediums and Costs
| Medium | Pros | Cons | Cost Estimate |
|---|---|---|---|
| Soil | Easy, flavorful buds, readily available | Slower growth, less yield | $50-$100 initial |
| Soilless (Coco Coir) | Faster growth, good yields | Requires more monitoring | $100-$200 initial |
| Hydroponics | Fastest growth, highest yields | Complex, expensive setup | $300-$500 initial |
Electricity costs for indoor grows average $20-$100/month, depending on setup and local rates. A basic setup with CFL lights and coco coir can cost as little as $300, while high-yield hydroponic systems may require more investment.
Legal Considerations
Before starting, verify the legality of growing cannabis in your region. For example, in Canada, adults can grow up to four plants per household for personal use, subject to local restrictions (Canada.ca’s cannabis guide). In the U.S., laws vary by state, so consult resources like GrowWeedeasy.com’s legal guide to stay compliant.
Conclusion
Learning how to grow marijuana indoors or outdoors is a rewarding process that requires patience and attention to detail. By following these steps—choosing quality seeds, germinating properly, managing vegetative and flowering stages, and harvesting and curing with care—you can produce high-quality cannabis at home. Whether you’re exploring how to grow ganja for personal use or curiosity, this guide equips you with the knowledge to succeed. Always prioritize legal compliance and enjoy the journey of cultivating your own weed.