Mastering the Cannabis Flowering Stage: A Comprehensive Guide for Growers
The cannabis flowering stage is a pivotal phase in cannabis cultivation, marking the transition from vegetative growth to the production of resinous buds rich in cannabinoids like THC and CBD. This stage, also known as the budding stage of weed plants or bloom stage cannabis, is when growers see their efforts come to fruition. Properly managing this phase is essential for achieving high yields and potent, flavorful buds. In this guide, we’ll explore the flowering weed plant timeline, care tips, and how to determine the perfect harvest time, complete with insights into the visual stages of bud growth.
When Does the Flowering Stage Begin?
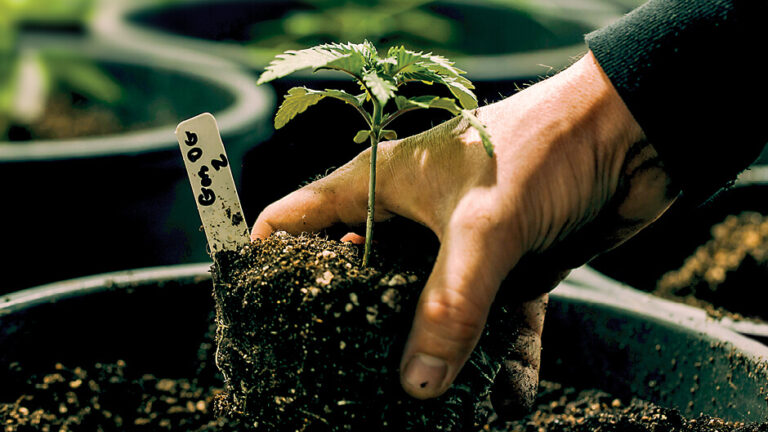
The flowering stage typically begins when cannabis plants are exposed to specific conditions that trigger bud development. For photoperiod strains, this occurs when growers switch to a 12/12 light cycle (12 hours of light and 12 hours of darkness), usually after 4-6 weeks of vegetative growth. Autoflowering strains, however, start flowering automatically around 3-4 weeks after germination, regardless of light changes. The flowering stage indoors generally lasts 6-12 weeks, with most hybrids ready in 8-10 weeks, depending on the strain and growing conditions (Grow Weed Easy).
Week-by-Week Guide to the Cannabis Flowering Stage
Understanding the week-by-week progression of the budding weed plant is key to providing the right care at each stage. Below is a detailed timeline of what to expect during the blooming weed plants phase.
Weeks 1-3: Transition and Stretching
- Key Developments:
- Plants undergo a “stretch,” potentially doubling or tripling in height, with sativas stretching more than indicas.
- White pistils (hair-like structures) emerge at the nodes, signaling the start of flower development.
- New leaves may appear, particularly at the top of the plant.
- By week 3, stretching slows, and bud sites begin forming (Sensi Seeds).
- Care Tips:
- Switch to bloom-specific nutrients with higher phosphorus and potassium to support flower development.
- Maintain a strict 12/12 light cycle for photoperiod strains to ensure consistent flowering.
- Use low-stress training (LST) to manage canopy height and promote even light distribution, which can increase yields by encouraging multiple colas (Thunderbird Disco).
Weeks 4-6: Bud Development
- Key Developments:
- Buds, or “budlets,” form and begin to fatten, covered in white pistils and developing thick calyxes.
- The plant’s aroma intensifies, often requiring a carbon filter for indoor grows.
- Stretching is mostly complete, and the plant focuses energy on bud growth.
- Care Tips:
- Maintain optimal conditions: daytime temperatures of 20-24°C (68-75°F), nighttime temperatures of 18-21°C (64-70°F), and humidity around 55% to prevent mold.
- Continue bloom nutrients, monitoring for signs of nutrient burn or deficiencies.
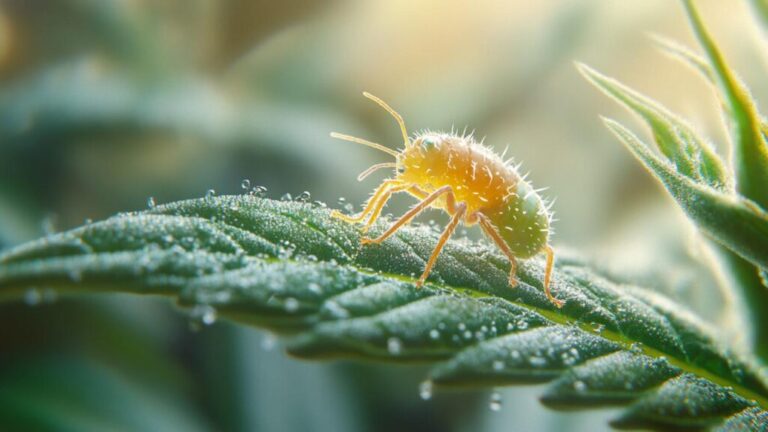
- Inspect regularly for pests like spider mites or aphids and diseases like bud rot, using organic controls like neem oil if needed (Thunderbird Disco).
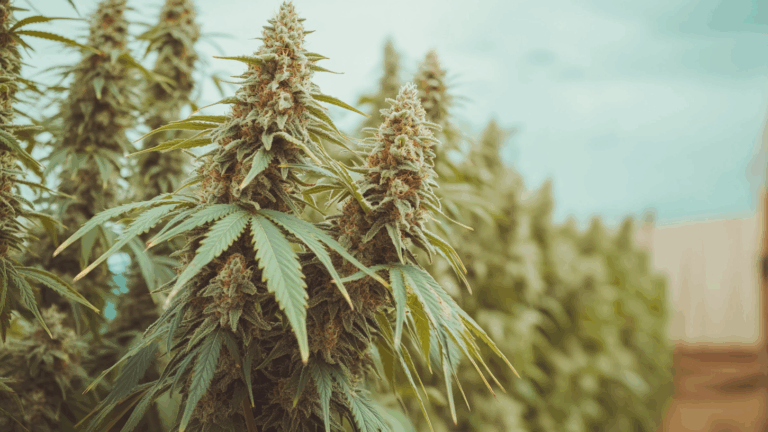
Weeks 7-10+: Ripening and Maturation
- Key Developments:
- Buds swell significantly, with pistils turning amber and trichomes (resin glands) becoming cloudy, indicating peak cannabinoid production.
- The plant stops producing new leaves or stems, focusing entirely on bud development.
- Aromas intensify, and resin production peaks, with trichomes resembling tiny, frosty mushrooms.
- Care Tips:
- Reduce nutrient strength to avoid overfeeding, which can cause nutrient burn.
- Begin flushing with pH-balanced water (pH 6.0-7.0 for soil) 1-2 weeks before harvest to remove excess nutrients, improving bud flavor and smoothness.
- Monitor trichome development with a magnifying tool to determine the ideal harvest time (Sensi Seeds).
| Week Range | Key Developments | Care Tips |
|---|---|---|
| Weeks 1-3 | Stretching, pistil formation, new leaves | Switch to bloom nutrients, maintain 12/12 light cycle, use LST |
| Weeks 4-6 | Buds fatten, strong aroma, stretching stops | Keep 20-24°C, 55% humidity, monitor pests, continue bloom nutrients |
| Weeks 7-10+ | Buds mature, pistils darken, trichomes cloud | Flush 1-2 weeks before harvest, check trichomes, reduce nutrients |
Key Care Tips During Flowering
To ensure healthy pot plants in the budding stage, growers must focus on several critical aspects of care:
Lighting
- Maintain a consistent 12/12 light cycle for photoperiod strains to trigger and sustain flowering.
- Use high-quality grow lights, such as high-pressure sodium (HPS) or full-spectrum LEDs, with appropriate spectrums for flowering.
- Keep lights at a safe distance to avoid light burn, which can damage foliage and cause calcium deficiencies (Royal Queen Seeds).
Nutrients
- Transition to a flowering-specific nutrient formula with higher phosphorus (P) and potassium (K) levels, such as an N-P-K ratio of 2-8-4 (e.g., Fox Farm’s Tiger Bloom).
- Supplement with calcium and magnesium (e.g., Fox Farm’s Bush Doctor Cal-Mag) to support cell wall strength and bud development.
- Avoid overfeeding, as nutrient burn can harm buds during this sensitive stage (Thunderbird Disco).
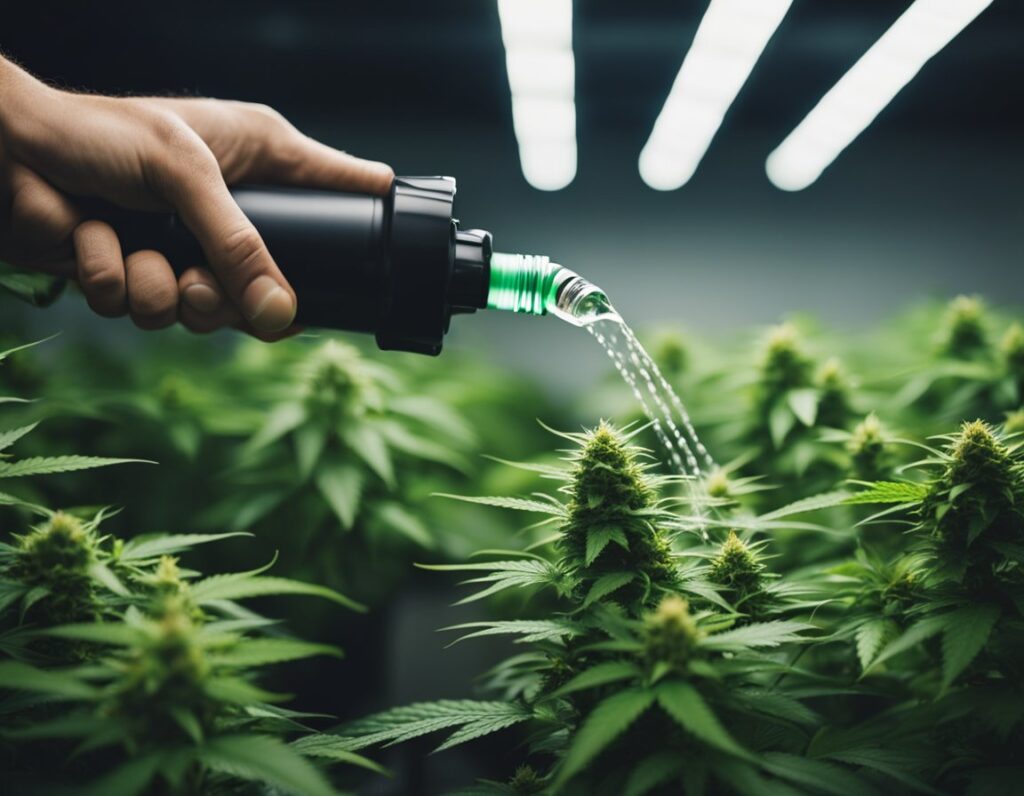


Watering
- Water less frequently than during vegetative growth, allowing the top 2 cm of soil to dry out between waterings.
- Increase watering slightly as buds develop, up to 0.75-1.5L daily for outdoor plants, adjusting based on plant size and environment.
- Maintain pH levels of 6.0-7.0 for soil or 5.5-6.5 for hydroponics to ensure nutrient uptake (Sensi Seeds).
Training and Support
- Continue subtle LST to encourage multiple colas, improving airflow and reducing the risk of bud rot.
- Support heavy buds with stakes, trellises, or plant yo-yos to prevent branches from snapping under their weight.
- Trim fan leaves sparingly during early flowering to direct energy to buds, but avoid excessive defoliation, which can stress the plant (Grow Weed Easy).
Pest and Disease Management
- Regularly inspect for pests like spider mites, aphids, or caterpillars, using organic sprays like neem oil or insecticidal soap.
- Monitor for mold, such as bud rot or white powdery mildew, especially in humid conditions. Maintain good ventilation and lower humidity in later weeks.
- Consider indoor grow systems for better environmental control to minimize pest and disease risks (Thunderbird Disco).
How to Know When to Harvest
Determining how long to let buds grow is critical for achieving the desired potency and effects. The optimal harvest time depends on visual cues:
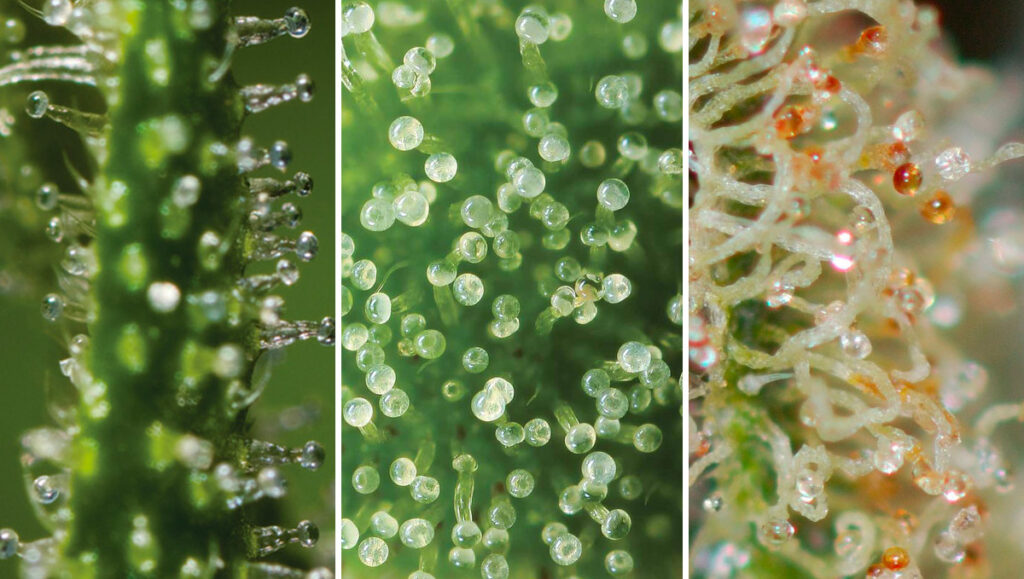
- Pistils: Most pistils should turn from white to amber, with only a few remaining white, indicating maturity.
- Trichomes: Use a jeweler’s loupe or microscope to check trichomes. Harvest when most are cloudy (for an energetic high) with about 20% amber (for a more sedative effect). Clear trichomes indicate the buds are not yet potent.
- Plant Health: Yellowing fan leaves are normal near harvest as the plant focuses energy on buds (Grow Weed Easy).
For most strains, harvesting occurs around 8-10 weeks into flowering, but fast-flowering strains like Hindu Kush may be ready in 6-7 weeks, while sativas like Amnesia White may take 12 weeks or more (Sensi Seeds). Always prioritize visual indicators over a strict timeline.
Visual Stages of Bud Growth
While we can’t include stages of bud growth pictures, understanding the visual changes during the budding stage of weed plants is essential for tracking progress:
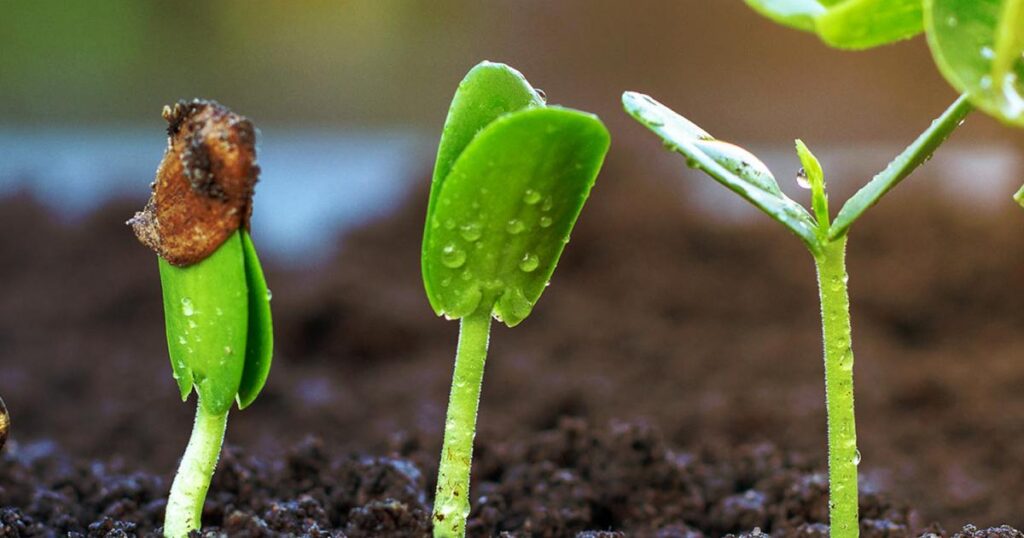
- Weeks 1-3: Small, white pistils emerge from the nodes, accompanied by tiny green bracts (the base of the flower). The plant may still resemble its vegetative state but with early signs of flowering.
- Weeks 4-6: Buds swell, covered in white pistils and developing a frosty layer of trichomes. The plant’s aroma becomes stronger, and bud sites become more defined.
- Weeks 7-10+: Buds grow dense and heavy, with pistils turning amber and trichomes clouding over. Resin production peaks, giving buds a sticky, frosty appearance (MSNL Seed Bank).
Growers often document these stages with photos to monitor development and share with the cannabis community, which can be a valuable tool for learning and comparison.
Conclusion
The cannabis flowering stage is a rewarding yet demanding phase that requires careful attention to lighting, nutrients, watering, and pest management. By following the week-by-week timeline and care tips outlined above, growers can maximize the yield and quality of their blooming weed plants. Whether you’re cultivating indoors or outdoors, understanding how long the flowering stage lasts indoors (typically 8-10 weeks) and monitoring visual cues like pistils and trichomes will ensure a successful harvest. For further reading, explore resources from Grow Weed Easy, Sensi Seeds, and Thunderbird Disco to deepen your knowledge and refine your growing techniques.